What’s the most important factor in 3D printing? If your first thought is cutting-edge printers or the variety of materials available, you might be surprised. The real game-changer lies in infill. It directly impacts your objects' strength, weight, and print time, making it the unsung hero of 3D printing.
Whether you’re optimizing for durability, efficiency, or flexibility, understanding infill patterns and density is the key to achieving the best results. This guide will walk you through the most popular infill patterns, their applications, and tips for choosing the right infill density for your projects.
What is Infill in 3D Printing?
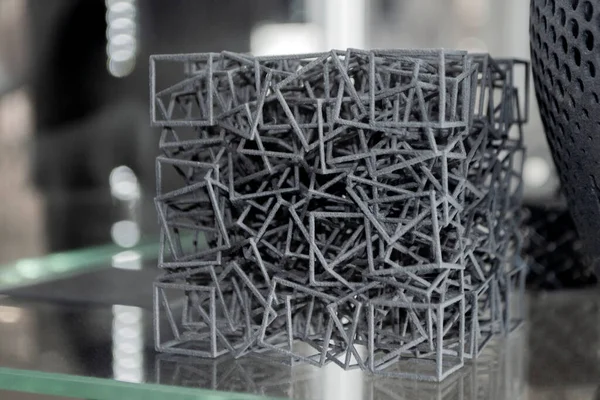
Infill is the internal structure of a 3D-printed object, formed between its outer walls (or shells). Think of it as the skeleton that provides strength and support to your print while influencing its weight, material usage, and print time.
Why Does Infill Matter?
1. Strength
The type and density of infill determine how much weight or stress a printed object can handle. For example, gyroid infill evenly distributes stress in all directions, making it perfect for functional parts.
2. Weight
Higher infill density results in a heavier object. If you need a lightweight prototype, patterns like lightning infill with low density (e.g., 10-15%) can significantly reduce weight.
3. Print Time
Sparse infill (low density with simple patterns) prints faster and saves material, while dense or complex patterns take more time.
Let's look at common examples of 3d models of padding selection that are often created for use.
-
Aesthetic Model: A decorative vase printed with a 10% cubic infill uses less material and prints faster but lacks structural strength.
-
Functional Prototype: A drone arm requiring moderate strength can utilize 40% triangular infill to balance strength and weight.
-
Industrial Part: A mechanism that demands maximum strength can use 100% adaptive cubic infill to provide durability in high-stress areas.
How to Configure Infill
Modern 3D printing software like Cura, PrusaSlicer, or Simplify3D allows you to adjust:
-
Infill Patterns. For example, concentric patterns for flexibility or gyroid patterns for strength.
-
Infill Density. Define the percentage of material filling the object, ranging from 0% (hollow) to 100% (solid).
-
Infill Placement. Advanced slicers can adapt infill density, increasing it in areas under stress while conserving material in less critical regions.
Infill Density
Popular Infill Patterns
Imagine crafting a 3D print where every choice shapes its character, much like sculpting. For parts requiring all-around strength and uniform stress distribution, gyroid infill stands out as your hero — strong, isotropic, and even visually striking for translucent designs.
When speed matters and deadlines are tight, lightning infill steps in, providing enough material to support overhangs while being lightweight and fast to print.
For balanced and versatile printing, cubic infill remains the go-to choice. It forms a reliable 3D lattice structure that is both efficient and strong.
If you work with flexible materials like TPU or need smooth surfaces, concentric infill creates gentle rings of support. For prints requiring precise strength in stress zones, adaptive cubic infill dynamically adjusts density where it is needed most. The geometric charm of tri-hexagonal infill is unparalleled when combining beauty and function.
Infill Patterns
Infill Density Basics
Every infill choice hinges on density — how much of your product’s interior is filled.
-
Low density (10–20%) makes aesthetic prints lighter.
-
Moderate density (20–50%) balances strength and material usage for everyday needs.
-
High density (50–100%) ensures the robustness of heavy-duty components.
Whether you’re printing a decorative vase, a drone frame, or industrial equipment, the right pattern and density of infill are the unsung heroes of 3D printing.
Common Infill Types


